Getting Started
4 min
Welcome to MaskIT! This quickstart guide will walk you through the simplest way to anonymize your first photo in few seconds using our web application. We'll use the default settings to get you started as quickly as possible.
Step 1: Sign Up & Get Your Free Credits
Before you can anonymize anything, you'll need a MaskIT account.
- Head over to https://app.maskit.ai/ and click Register.
- Upon registration, your account will be automatically created with a free plan, including 25 free credits per month — enough to anonymize 25 standard photos. No payment information is required to get started.
Step 2: Anonymize Your First Photo
Anonymizing a photo is a simple drag-and-drop process.
- Go to https://app.maskit.ai and log in to your account.
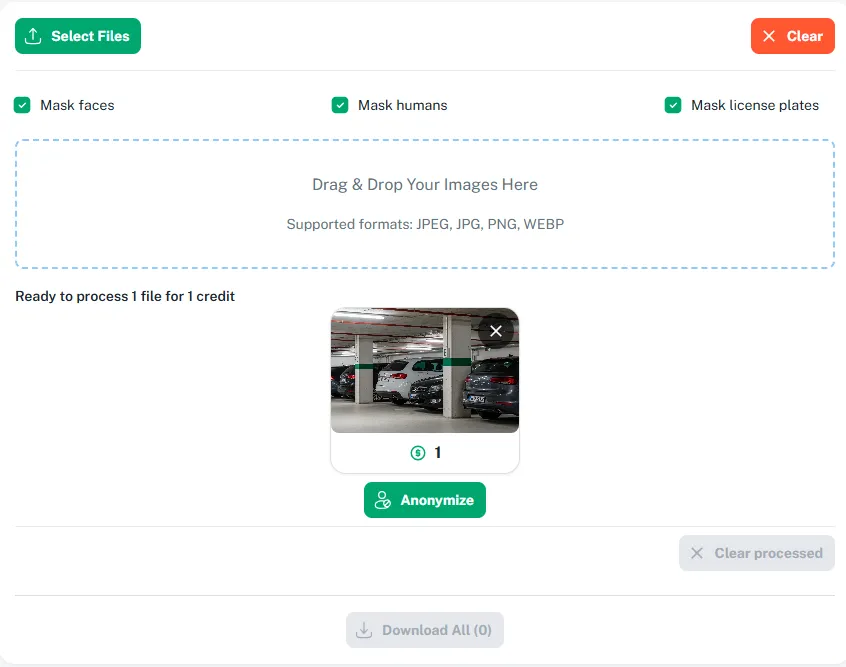
- You will see an upload area. Drag and drop an image file (e.g., a .jpg or .png) directly onto this area. Alternatively, click the 'Select Files' button to select a file from your computer.
- For this quickstart guide, we'll use the default settings. As soon as your file is uploaded, MaskIT will offer to Anonymize it
Step 3: Download Your Anonymized File
Processing usually takes just a few seconds.
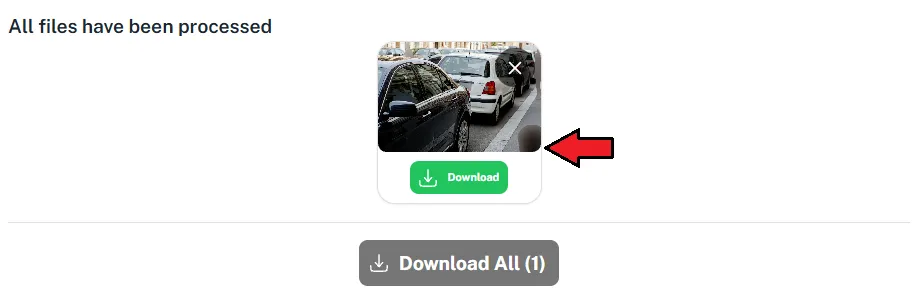
- Once complete, a preview of the anonymized image will appear.
- You can click the image thumbnail to see a larger preview of the result.
- Click the "Download" button to save the secure, anonymized version to your computer.
⚠️ Important: MaskIT operates in a stateless mode, which means we do not store your files for privacy reasons. Please make sure to download your result, as it will not be available for download later.
Step 4: Working with Multiple Photos
MaskIT makes it easy to manage and anonymize a batch of photos in one session.
- Add More Photos: To add more images to the queue, simply use the drag-and-drop area or the "Select Files" button again.
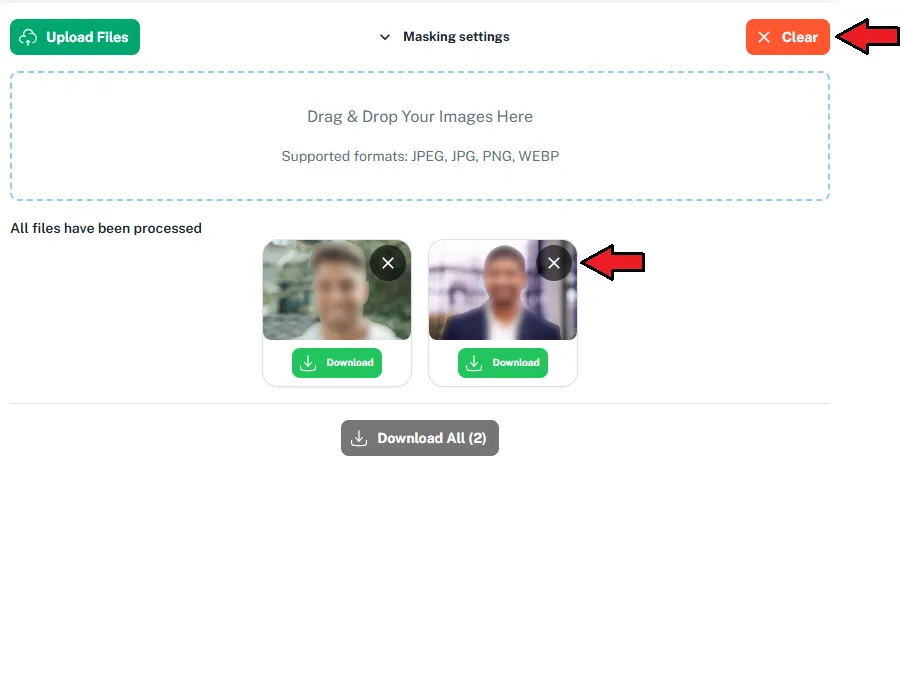
- Remove a Single Photo: If you need to remove a specific image, click the 'x' icon located on its thumbnail.